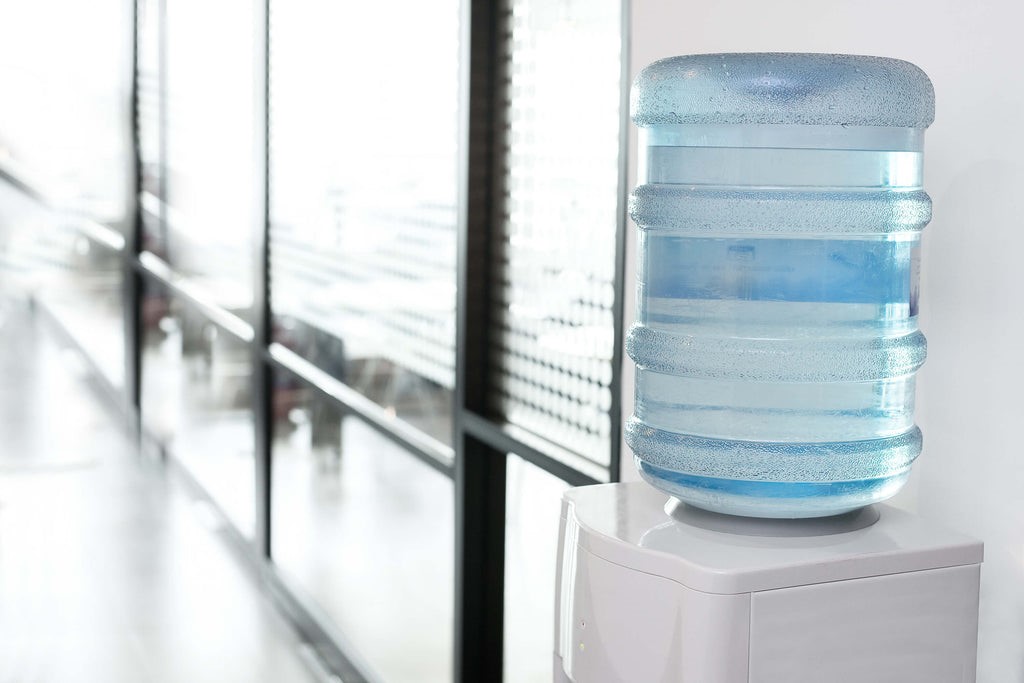
Troubleshooting water coolers
Water cooler is an essential device in the home or in the office. Many water cooler problems can be resolved quickly and easily, while others may require expert help. Preventive maintenance can also reduce the chance of costly or time-consuming maintenance. Below you can find information about common water cooler problems, how to fix them, and how to perform preventive maintenance on your water cooling system.
Common problems of water coolers
Some water cooler problems can cause similar problems to others. Therefore, it is best to diagnose the problem and rule out the causes one by one.
Leaking coolant
Many issues can cause a water cooler to leak. In many cases, the water cooler itself is not leaking. Instead, the drip tray overflowed and the cooler appeared to be leaking. If the drip tray is not overflowing, check the back valve of the cooler. This valve may open slightly from time to time and can simply be closed to eliminate leakage.
If neither of these solutions will prevent the cooler leak, check the piping inside the system. Fittings can lose their effectiveness over time and need replacing, or pipes can become damaged and leak. If an accessory loses its seal, it must be replaced. Before replacing an unsuitable accessory, ensure that the water cooler is unplugged and water has been removed from the system. If your cooler’s pipes are leaking, you may need the help of a professional to fix the problem.
Water cooler does not supply cold water
If the water is not cooled properly inside the water cooler, it is most likely caused by an electrical problem. Before trying anything else, make sure the cooler’s thermostat is set to the desired temperature. If the thermostat is set correctly and the water is not cooling, check for electrical problems with one of the following solutions:
- Ensure that the water cooler is fully plugged in. Loose connections or accidental unplugging of the system is a simple and common cause of electricity not reaching the system.
- Check the switches at the rear of the cooler. Confirm that they are turned to the “on” position. If the cooler has lights that indicate its power status, make sure those lights are on too. If the switches are on, turn them off and unplug the system. Wait about 30 seconds, plug in the cooler and turn the switch to the “on” position.
- Reset the power to the water cooler. Turn off the cooler and unplug it. Wait all day before plugging it back in. After turning on the cooler, test the system a few hours later to check the water temperature.
If none of these solutions resolve the issue, then there may be a problem with the cooling system itself. An expert is required to evaluate the system and diagnose any problems in the cooling system.
Water cooler not supply hot water
Like cold water coolers, hot water coolers with heating can be damaged due to power failure. Try the above solutions to make sure that electrical problems are not the cause of the problem. If none of these solutions work, confirm that the cooler isn’t being used so often that the heating system can’t keep up. If electrical problems are not an issue and the system is not being abused, seek professional help to diagnose problems in your system.
Water cooler has a bad taste
If the water dispensed from your water cooler has a bad taste, smell or color, the filter must be replaced or the system cleaned. The filter cartridges should be replaced at least every six months or when the filter reaches full capacity, whichever comes first. If a filter has exceeded its capacity, it will not be able to filter water properly. This leads to contaminants that disturb the taste, odor and color of the water.
Another reason the water may be impure inside the water cooler is the accumulation of contaminants. If the water cooler is not cleaned properly, bacteria and dirt can build up over time and cause problems inside your system. The water cooler should be cleaned at least every six months or whenever the filter cartridge is changed.
If bacteria or other microorganisms lurk in your water cooler, drinking water can make you sick. Pseudomonas Aeruginosa is one of the most common bacteria found in water coolers. Yeast and mold can also build up if the cooler is not cleaned properly. For more information on how to clean your water cooler, read our steps for cleaning water coolers below.
How to maintain the water cooler
Preventive maintenance is the best way to avoid recurring issues with your water cooler. The following steps can help extend the life of the water cooler and protect it from contamination.
Replace the filter element periodically
Replacing a water cooler’s filter cartridges is not only important for water quality, but it also prevents certain problems from arising within the cooler itself. The water cooler’s cartridge should be replaced when the amount of water it has filtered matches its changing frequency. If 1250 gallons of water passes through the filter before the six months are up, the cartridge should be replaced. If the change frequency is not reached within six months, the cartridge must be replaced after the six-month mark. Monitor the taste of your water to see if you notice—warning signs like chemical odors and chlorine aftertaste. Water coolers servicing larger offices may require more frequent changes.
Check the quality of the cooler regularly
Bad fittings and pipes can form leaks over time. Regularly check the quality of seals and pipes to ensure smooth water flow. If you find an accessory that is failing, unplug it and empty the cooler before replacing it. Dust that accumulates on the vents can cause the cooling system to overwork. This can significantly shorten the life of the system. If you notice dust build-up in the vents, use a vacuum cleaner or duster to clean the area.
Clean the water cooler
Cleaning the water cooler reduces the risk of particulate matter entering the water and disinfects any existing bacteria. Water coolers should be cleaned at least every six months. Cleaning your cooler every time you replace the filter is a great way to ensure that cleaning happens regularly.
How to clean the cold water tank?
When cleaning the chilled water cooler, ensure that no external contaminants enter the cooler during the cleaning process. To remedy this, wash the cooler only with potable water and use cleaning products that are rated safe for use on food contact surfaces. Disposable gloves should be worn to protect skin from cleaning chemicals and coolers from body germs. When cleaning removable plastic pieces, do not use abrasive cleaners; these can cause scratches and other structural damage to components.
- Unplug the water cooler. Let the cooler sit for at least five minutes unplug it before cleaning begins.
- Clean the outside of the cooler with a hot soapy cloth. Make sure the faucets are thoroughly cleaned, as these are the parts that come into most contact with the cooler.
- Drain any remaining water in the cooler through the faucet and remove the empty water tank.
- Remove the plastic parts (except the locating pins) from the cooler. They can be washed with warm soap and water. Some ingredients may be dishwasher safe.
- Prepare a solution of unscented bleach and purified water. Use 1 to 3 teaspoons of bleach per gallon of water.
- Fill the tank with cleaning solution. Immediately flush a few cups of cleaning solution through the faucets. Pour the additional solution into the reservoir.
- Let the cleaning solution soak for about five minutes.
- Drain the solution through the nozzles.
- Rinse the container thoroughly with potable water. Drain the wash water through the faucets.
- Reassemble any plastic components.
- Add a pitcher of clean water to the cooler.
- Flush a cup or two of water through the faucets to remove excess bleach.
- Plug in the cooler.
How to clean the hot water tank
Bleach should never be used to clean hot water coolers. Instead, it is recommended to use boiling water to disinfect the system.
- Boil enough water to fill the tank.
- Clean the outside of the cooler with a hot soapy cloth. Make sure the faucets are thoroughly cleaned, as these are the parts that come into most contact with the cooler.
- Fill the container with boiling water. Use caution when filling the container. Avoid splashing that can lead to burns.
- Immediately drain one or two cups of boiling water from the faucets. Pour boiling water into the container.
- Let the water boil for about three minutes.
- Use a soft-bristled brush to scrub the inside of the container.
- Drain the water through the faucets.
- Rinse the container with potable water. Make sure that the container is thoroughly washed before using the cooler.
Can I clean the water cooler with vinegar?
Distilled white vinegar can be used as an alternative to bleach when cleaning water coolers, but it will not be effective at killing bacteria. If you choose to use white vinegar, add one part vinegar to every three parts water in the cooler. Both bleach and vinegar are effective cleaning solutions for your water cooler if the system is properly scrubbed and rinsed. However, bleach is generally a more effective option. Note that vinegar and bleach should never be mixed, as they produce harmful chlorine gas. Make sure you clean the water cooler with bleach or vinegar, but never both at the same time.
See also: How to choose the right bilge pump for your boat
Any questions about water coolers or water industry equipment, please call Song Phung immediately via hotline 0913.90.72.74 – 0984.620.494 for a product quote, or order quickly online at https://thietbinganhnuoc .com/our-products
Follow Fanpage: https://www.facebook.com/SongPhungthietbinganhnuoc/ to update new products.
Translator: Duong Nguyen Hoang Khang